How to Compress Images Without Losing Quality (Step-by-Step)
Compress JPG, PNG, and WEBP images by 40-80% without visible quality loss. Free, browser-based, no signup. Works for web, email, and social.
May 26, 2026 · 5 min read · Image Tools
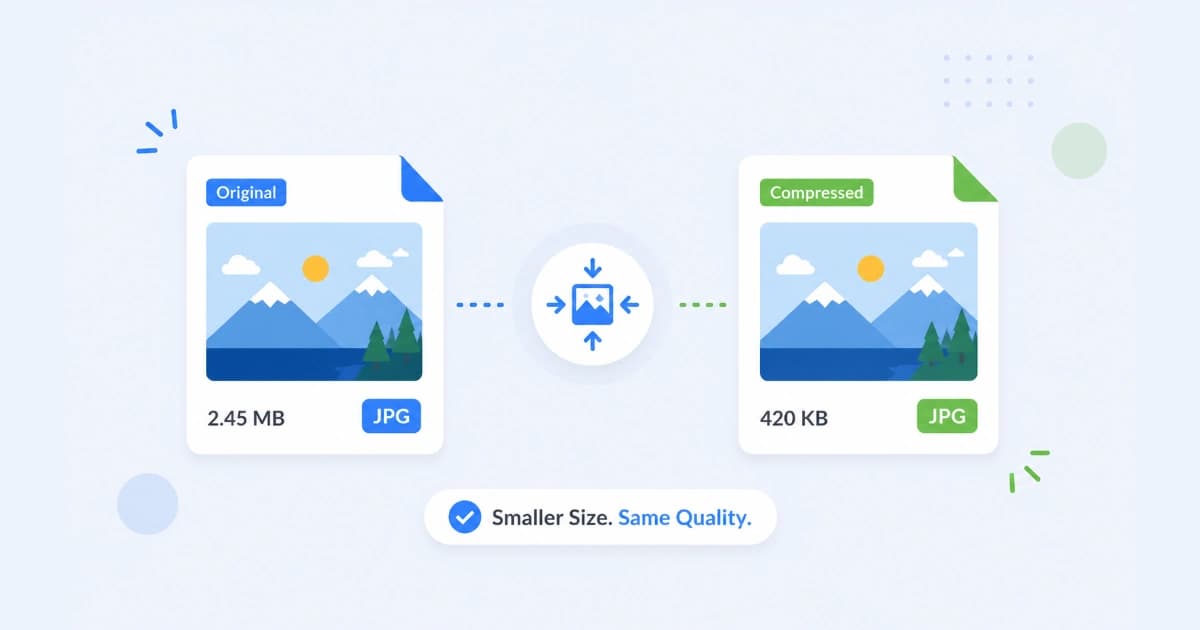
Big images slow down pages, eat data plans, and silently hurt SEO. The good news: you can usually compress images by 40-80% without anyone noticing. This guide walks through the exact settings we use, with our free Image Compressor for the heavy lifting.
TL;DR - the recipe that almost always works
- Convert to WEBP (or keep JPG for photos).
- Set quality to 80.
- Strip EXIF / metadata.
- Resize to the actual display size (don't serve a 4000×3000 photo into a 1200 px container).
- Run through Image Compressor one more time.
That sequence typically shrinks a 4 MB phone photo to 200-400 KB with no visible difference.
Lossy vs lossless compression - pick the right tool
There are two kinds of image compression. Knowing which one to use is most of the battle.
| Type | What it does | When to use |
|---|---|---|
| Lossless | Removes redundant data only. Pixels unchanged. | Logos, screenshots, UI, design source files. |
| Lossy | Discards data your eye barely notices. | Photos, blog headers, social images. |
For the web, you'll almost always use lossy at quality 80. For everything else (design files, archival), keep it lossless.
Step 1 - Choose the right format first
Compressing the wrong format is a wasted step. Quick rules:
- Photo? Use JPG at quality 80, or WEBP at quality 80 for ~30% extra savings.
- Logo, screenshot, or graphic? Use PNG or WEBP-lossless.
- Anything destined for the modern web? WEBP.
If you're not sure, see our JPG vs PNG vs WEBP comparison. Convert with Image Converter before compressing.
Step 2 - Resize before you compress
A photo that displays at 1200 px wide doesn't need to be 4000 px wide. Resizing first reduces pixel count linearly - a 4000→1200 px resize cuts file size by 88% before compression even runs.
- Open Image Resizer.
- Drop your image.
- Set the width to match your largest display size (e.g. 1200 px for a blog hero).
- Download.
For responsive sites, generate multiple sizes (e.g. 1200, 800, 480 px) and serve them via srcset.
Step 3 - Compress with the right settings
Open Image Compressor, drop the file in, and:
- Quality: 80 (default). Drop to 70 if size is critical.
- Strip metadata: on (removes EXIF - GPS, camera info, software tags).
- Output format: WEBP for web, JPG for email/social fallback.
Preview the result and click download. Most photos shrink to 30-50% of the input size at quality 80.
Step 4 - Verify the result
Before publishing, do a quick check:
- Side-by-side preview at 100% zoom. Look at faces, text, and high-contrast edges.
- Total page weight - every image on a page should sum to under 1.5 MB ideally.
- Lighthouse score - Chrome DevTools → Lighthouse → Performance. Aim for an LCP under 2.5 s.
Format-by-format guide
JPG
- Best for: photos, screenshots of photos, any complex image.
- Quality 80 is the sweet spot.
- Use PNG to JPG when a photo accidentally got saved as PNG.
PNG
- Best for: logos, icons, screenshots, UI mockups.
- Use lossless compression (default).
- For massive savings on UI mockups, convert to WEBP-lossless with PNG to WEBP.
WEBP
- Best for: production web images.
- 25-35% smaller than JPG at the same quality.
- Works in every modern browser.
- For images shared by email, keep a JPG fallback handy.
HEIC (iPhone)
- iPhone photos are HEIC by default. Most non-Apple software can't open them.
- Convert with HEIC to JPG before compressing.
- See: How to convert HEIC to JPG free.
Bulk compression
If you have a folder of photos:
- Open Image Compressor.
- Drop the entire folder (drag-and-drop supports many files).
- Set a single quality + format for all of them.
- Download as a ZIP.
For renaming many files after compression (e.g. IMG_1234.jpg → product-001.jpg), use our Bulk File Rename tool.
Common mistakes
- Compressing twice. Each lossy pass throws pixels away. Always keep the original.
- Quality 100. Adds almost no visible quality, doubles file size. Use 85 max.
- PNG for photos. Often 5-10× larger than the JPG equivalent.
- Forgetting to resize. Compressing a 4000 px image down to 200 KB is much harder than resizing first.
- Skipping metadata stripping. EXIF can leak GPS coordinates from phone photos.
SEO and Core Web Vitals impact
Image weight is the #1 driver of Largest Contentful Paint (LCP) on most sites. Two changes that consistently improve scores:
- Replace hero JPG/PNG with WEBP at quality 80 - usually 30-50% smaller.
- Lazy-load images below the fold with
loading="lazy".
A 100 KB savings on the hero image is often the single biggest LCP win you can ship.
Conclusion
Compressing images well is a 90-second job once you know the recipe: right format, right size, quality 80, strip metadata. Try Image Compressor free or browse all Image Tools. Everything runs in your browser - no uploads, no signup.
Frequently asked questions
- Can you compress an image without any quality loss at all?
- Yes - that's called lossless compression. It strips redundant data and metadata without touching pixels. Expect 5-20% savings on JPG and 10-30% on PNG. For bigger savings you need to accept very small, usually invisible quality loss (lossy compression at quality 80-85).
- Is online image compression safe?
- It depends on the tool. Convert Freely processes every file directly in your browser, so images never leave your device. Avoid services that upload files to a server unless they explicitly state how long the file is stored and who can access it.
- What is the best quality setting for JPG?
- Quality 80-85 is the standard for web photos. Most people can't see a difference between quality 100 and quality 85, but the file is typically 40-60% smaller. Drop to 75 for thumbnails and 60-70 only when size is critical.
- Does compressing a PNG reduce its quality?
- Standard PNG compression is lossless - quality stays identical. If you use a lossy PNG optimizer like pngquant (or our compressor's 'aggressive' mode), it converts to a 256-colour palette. That works great for logos and UI, less so for photos.
- How small should images be for a website?
- Aim for under 200 KB for hero images, under 100 KB for product photos, and under 30 KB for thumbnails. Use WEBP and serve different sizes via srcset to make this realistic.